Coatings
The Coating Prep Checklist That Prevents Callbacks
Coatings don't fail. Prep fails. Here's the panel-by-panel sequence we hand to every shop buying their first case of coating.
Every coating problem we've helped a shop troubleshoot traced back to something that happened before the bottle was opened: residual polishing oils, a skipped decon step, or ambient conditions outside spec.
Decon before you correct
- Chemical decon: iron remover top to bottom, dwell, rinse — stocked in clay & decon.
- Mechanical decon: clay or a fine clay towel with plenty of lubrication.
- Wash again — you're removing what decon lifted, not what it left behind.
Correct, then panel wipe
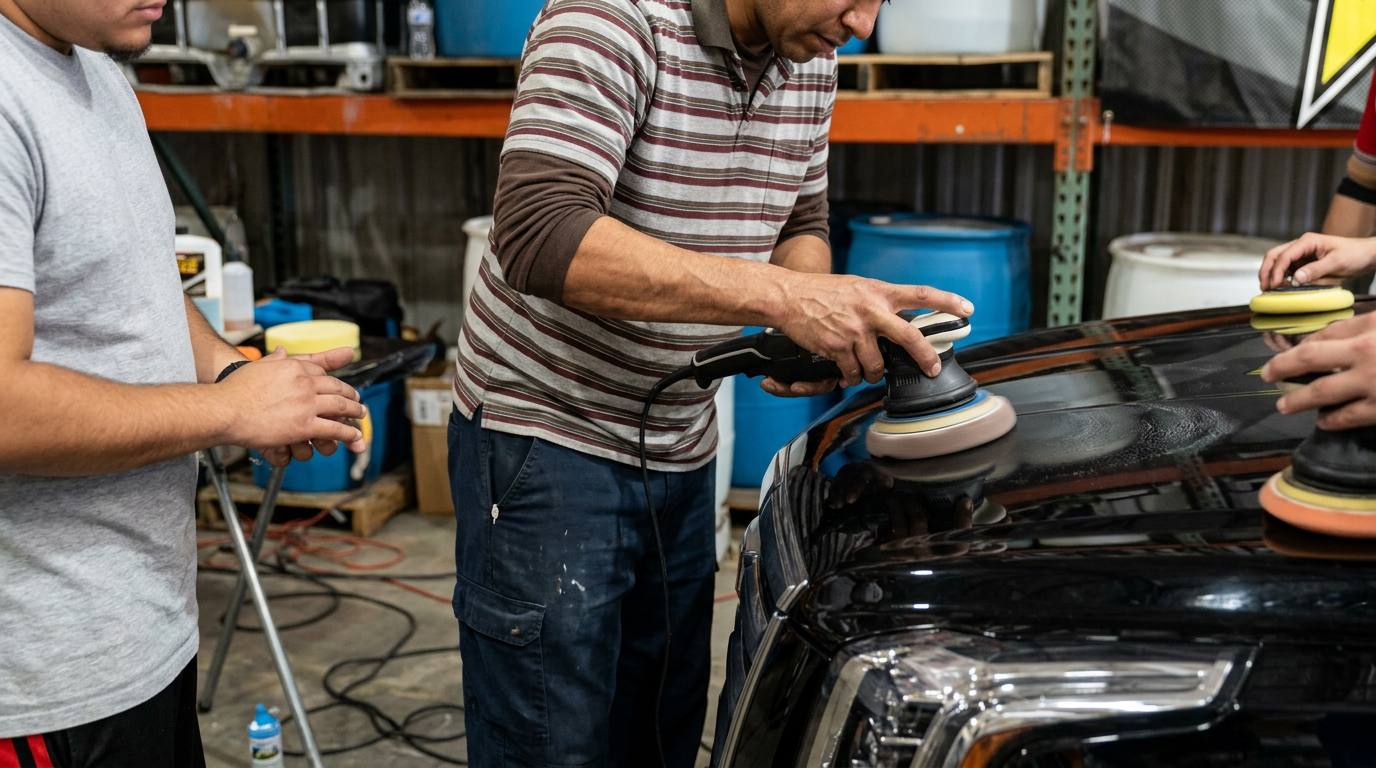
Polishing oils fill defects and fool your eyes under LED. A dedicated panel prep wipe strips them so you inspect the actual finish, and so the coating bonds to clear coat instead of residue. If the correction step itself is the weak link, start with compound, polish, finish.
If you wouldn't put your bare hand on it, don't put a coating on it.
Control the room
Most coatings want a moderate temperature and controlled humidity. In an August Austin bay that means closing the doors, running air, and coating early. High heat flashes the product before you can level it, and that streak is permanent.
Set the customer up for maintenance
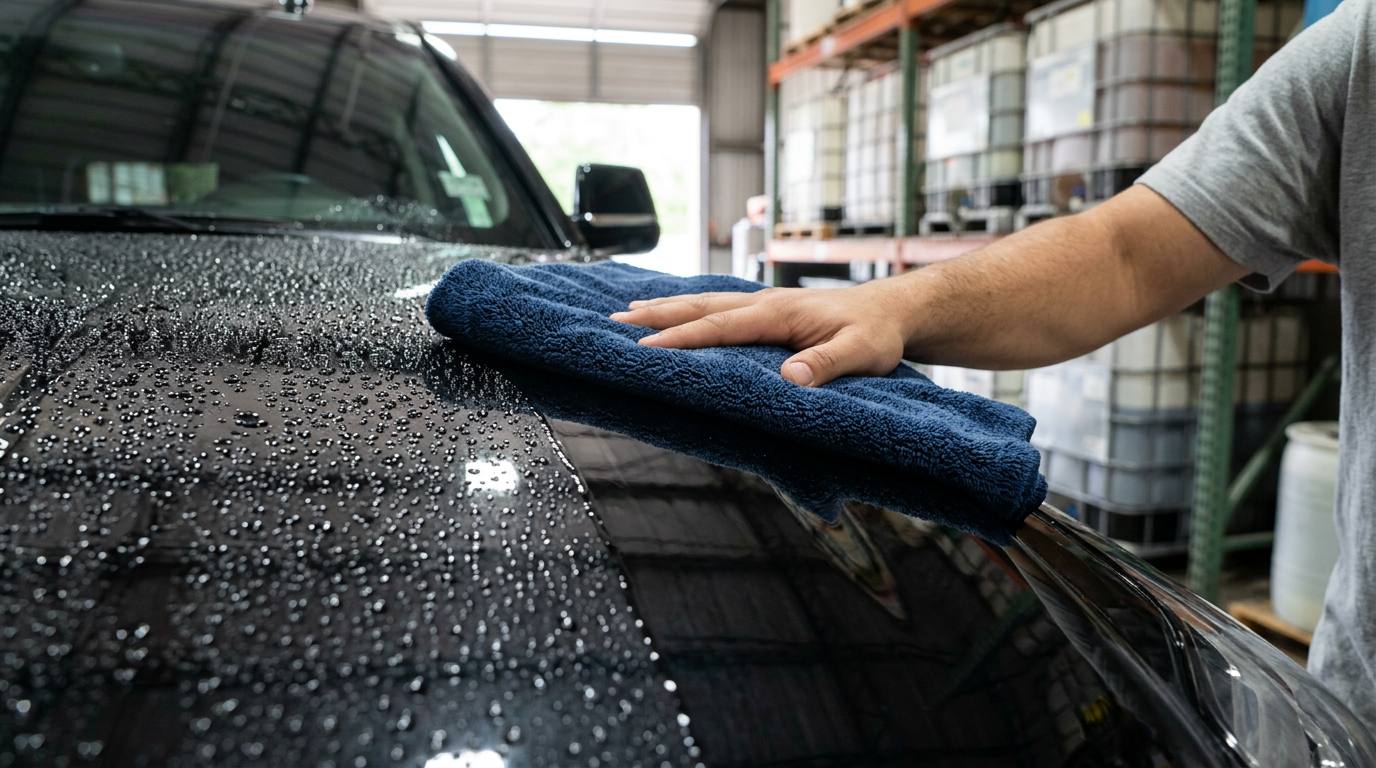
A coated car still spots if it's washed in the sun with hard water. Send them out with a plan from beating Central Texas hard water, and keep your own applicators and removal towels fresh.
In Stock Now
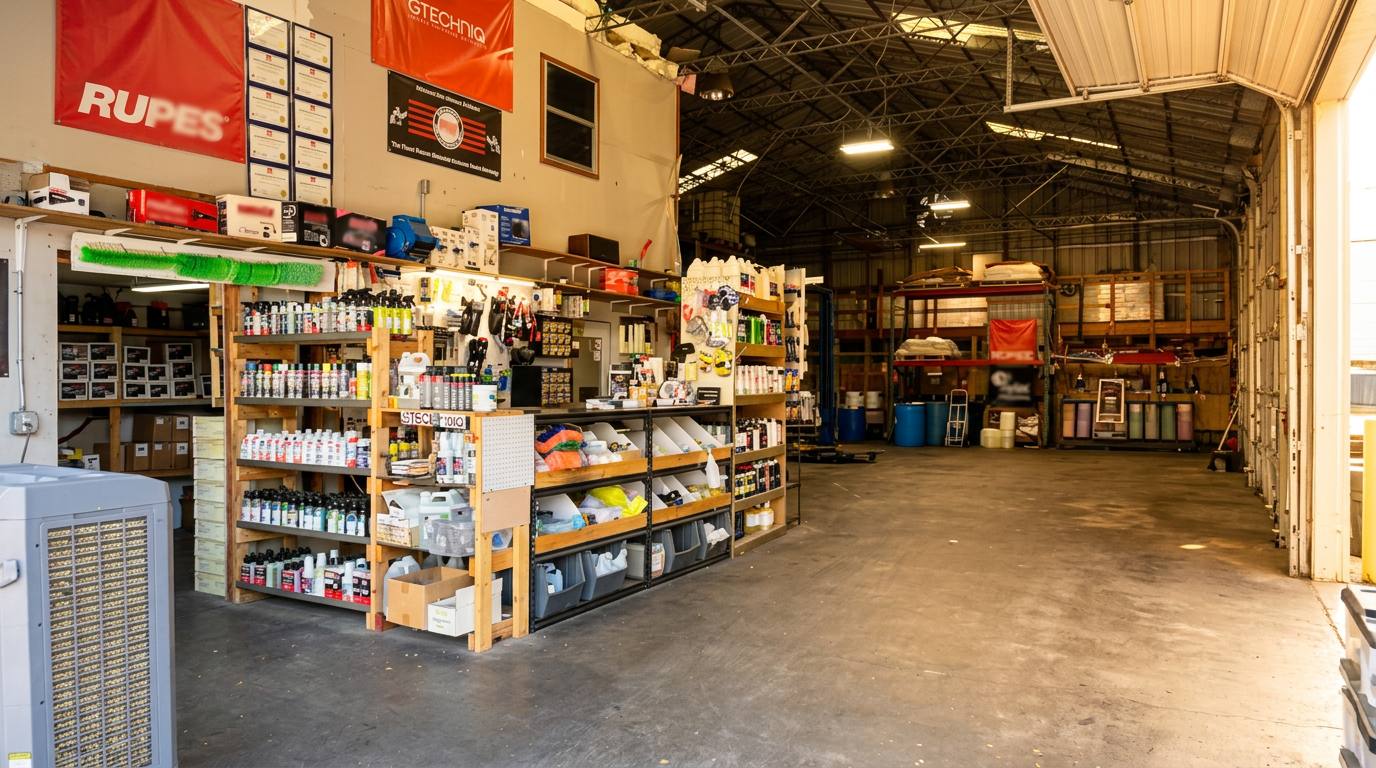
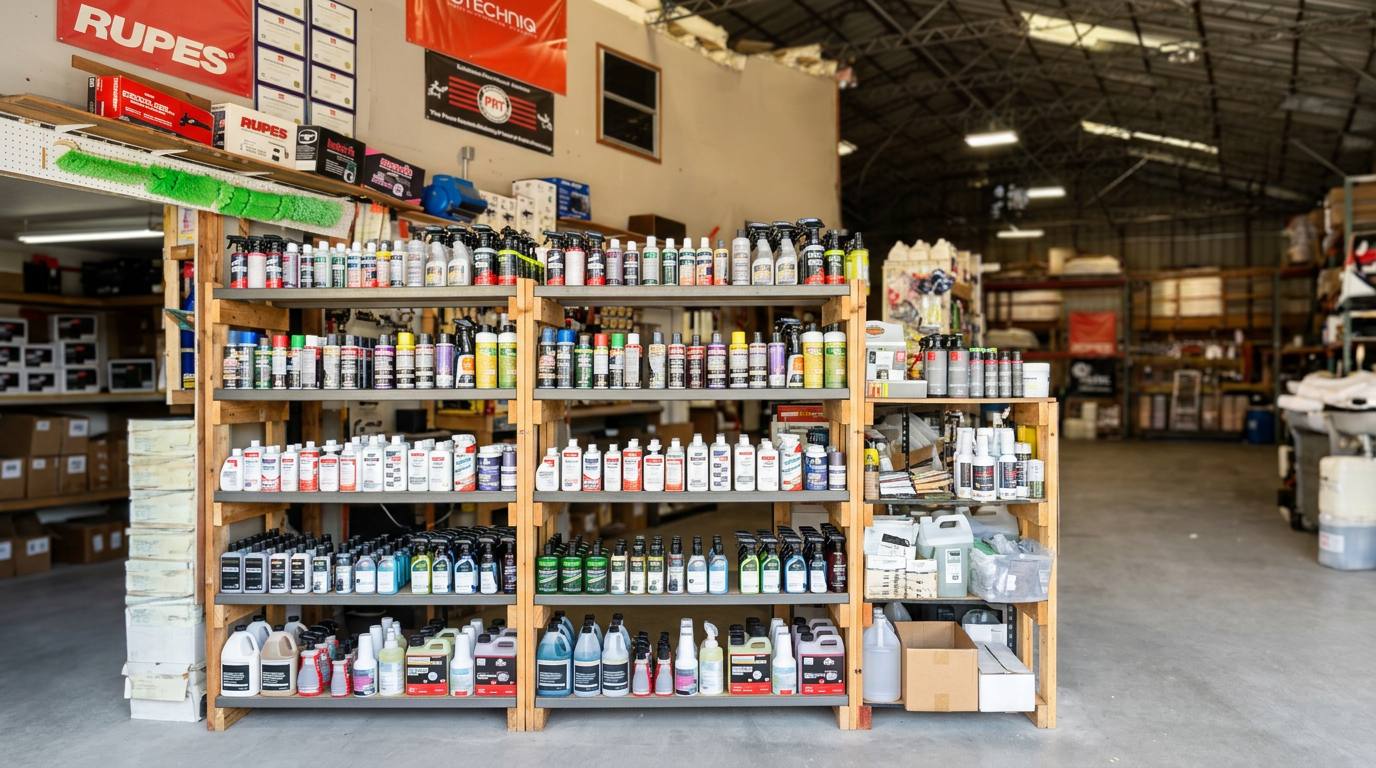
Everything on this checklist — decon, prep, applicators, coatings — is on the shelf today.